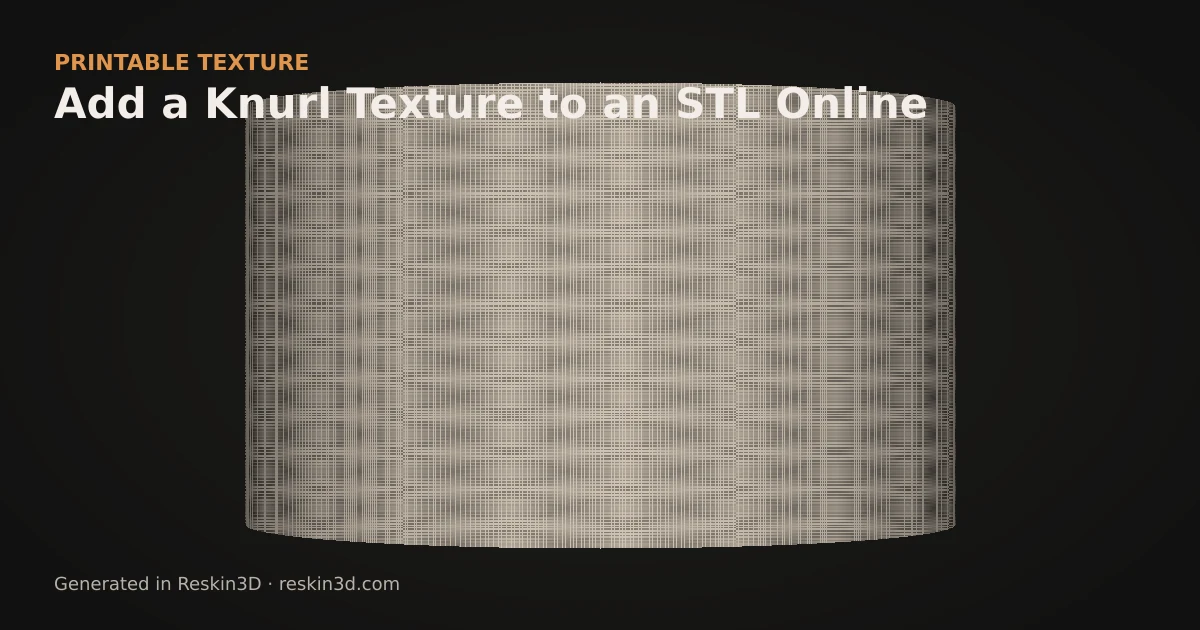
To add knurl to an STL online, open the model in Reskin3D, select the grip surface, choose Diamond Knurl or Straight Knurl, set its physical size and depth, then bake and export the displaced mesh.
Choose the correct kind of knurl
Diamond knurl crosses two diagonal ridge families and gives broad resistance in several directions. Straight knurl uses parallel ribs and is clearer on rotary knobs or sliders with one preferred grip direction. Both Reskin3D patterns are adjustable procedural height maps, so changing the controls regenerates clean geometry rather than stretching a small bitmap.
Start on a simple handle or cylinder. Keep threads, bearing seats, snap fits and mating faces outside the selection because any real displacement can change clearance.
Wrap and size it deliberately
Cylindrical mapping is usually the best starting point for a round handle. Rotate the pattern and move the seam onto the rear or into a natural groove. At the default 12 mm tile, a medium diamond knurl is readable with a 0.4 mm nozzle; if the sliced ridges merge, increase Texture size before making the relief deeper.
A 0.60 mm deboss preserves the outer envelope but consumes wall thickness. Emboss creates a more prominent grip while increasing the finished diameter.
Verify real toolpaths
Bake converts the live GPU preview into triangles. Export STL or 3MF and examine the sliced perimeter layer by layer. Confirm that both diagonal ridge families remain distinct, the seam is acceptable and no displaced area crosses a functional interface.
Three-step workflow
- Open an STL or 3MF and select the intended grip faces.
- Choose Diamond Knurl, begin around a 12 mm tile and 0.60 mm depth, then use cylindrical mapping on round parts.
- Bake, export and inspect the sliced toolpaths before printing the complete model.