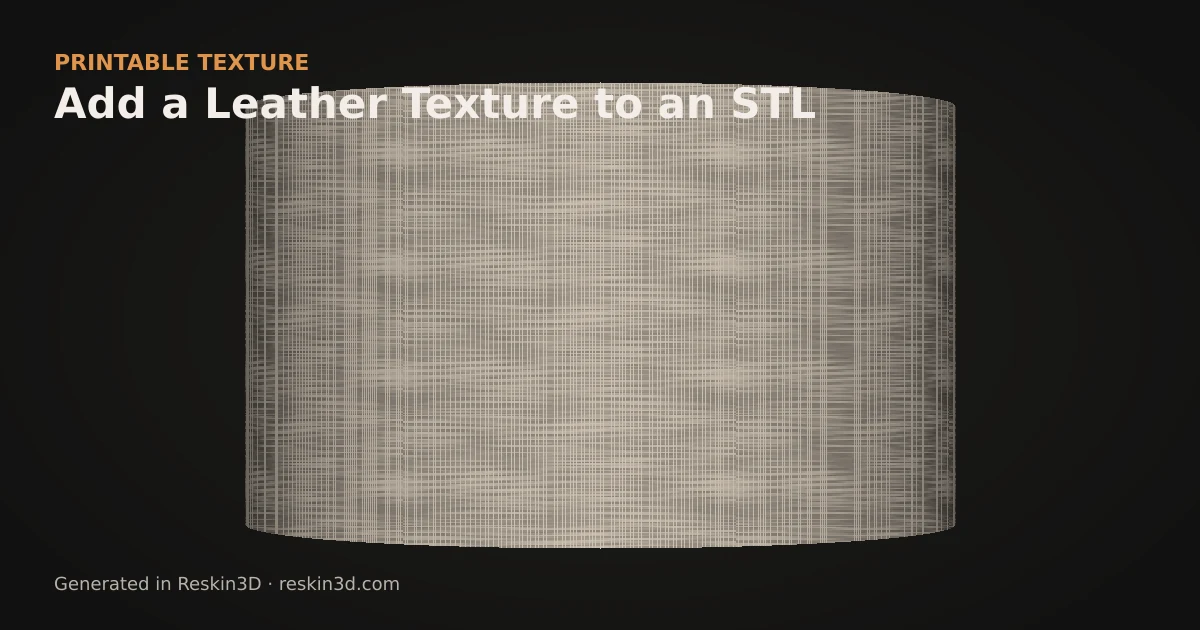
To add leather grain to an STL, select the decorative surface, apply Reskin3D’s procedural Leather texture, use a shallow deboss and organic mapping, then bake the result into the mesh.
Use relief rather than colour
STL files do not carry the kind of colour shader that makes a game asset look like leather. For a 3D print, the grain must exist in the surface geometry. Reskin3D converts the grayscale leather height field into actual displacement that a slicer can turn into toolpaths.
The procedural texture contains irregular creases and fine grain. It is not tied to one photo, so you can adjust density and crease depth without visible image scaling artifacts.
Match grain to the object
A 40 mm tile is a useful material-scale reference for full-size grips and soft-product forms. Enlarge it for coarse upholstery or reduce it carefully for miniatures. Surface mapping follows an irregular shell, while triplanar mapping is often steadier across a boxy case. Infinite variation can reduce obvious repeats on broad organic areas.
Keep depth subtle. Around 0.40 mm creates slicer-visible grain with a 0.4 mm nozzle without turning every crease into a canyon.
Protect the underlying part
Debossing keeps the outside dimensions close to the original, but it cuts into wall thickness. Exclude seams, hinges, clips and precise contact faces from the selected region. Slice a small coupon or cropped section before committing to a long prop print.
Three-step workflow
- Open the model and select only the surface that should look like leather.
- Apply Leather, start near a 40 mm tile and 0.40 mm deboss, then enable variation if repetition is visible.
- Bake and inspect whether the creases form continuous, believable toolpaths.